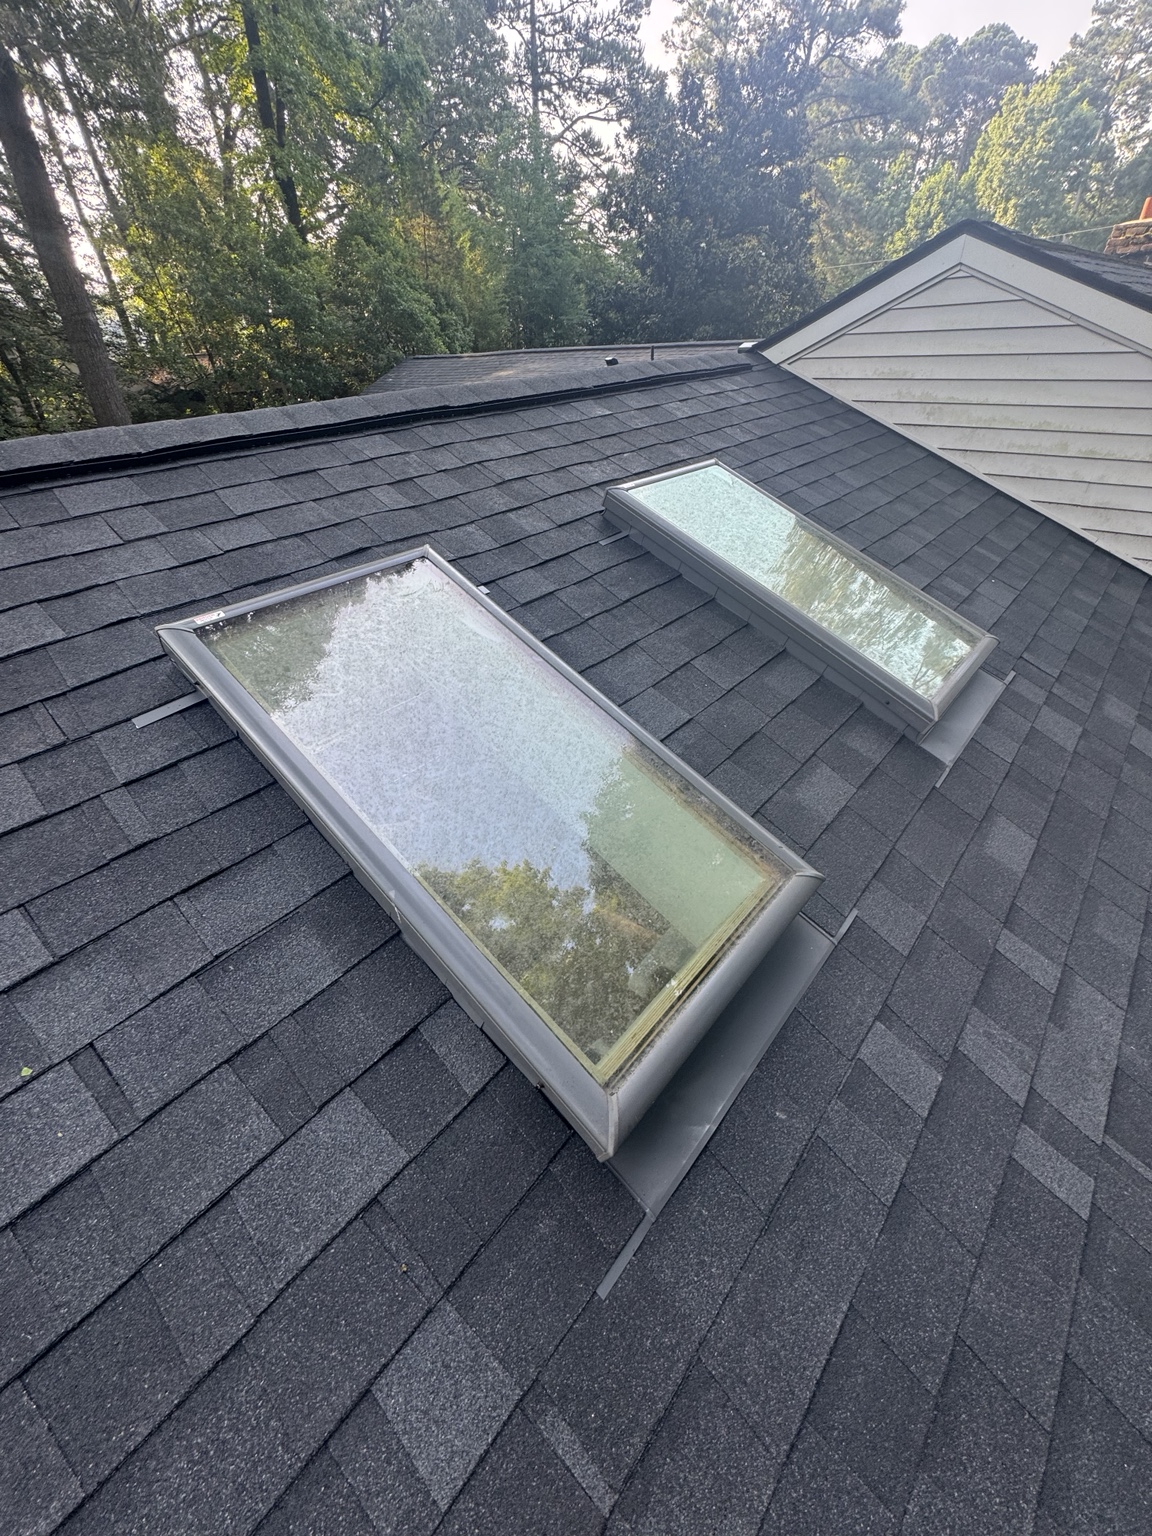
From a Cross + Crown project. The skylight, flashing and surrounding roof all deserve attention.
01 · CHOOSE YOUR DAYLIGHT
Light, fresh air, or both?
Start with the room and how you will use it. The suggestions below are Cross + Crown planning guidance; final suitability comes from the roof and room inspection.
What is a VELUX Skylight System?
The current residential Skylight System combines the skylight with a factory installed shade and remote. Flashing is selected for the roof and mounting method. Confirm the exact package in your proposal; Sun Tunnel, roof window and custom products have their own configurations. VELUX system overview
Uses the home’s electricity, with remote operation and a rain sensor.
Include electrical supply and wiring in the scope. Discuss operation during a power outage.
Source: VELUX Fresh Air product comparison. A rain sensor is a closing feature, not a substitute for correct installation or checking that an opening is closed.
SMALL SPACES
Sun Tunnel® Skylights
A roof collector brings daylight through a reflective tube to a ceiling diffuser. Consider hallways, closets, bathrooms and interior rooms where a full light shaft is impractical.
Rigid tubing suits a more direct route; flexible tubing can route around obstructions. Rigid elbows are also available. Roof pitch, tube route and distance affect the selection. A Sun Tunnel provides daylight rather than an opening for fresh air.
VELUX lists curved glass, fixed flat roof, roof access, double dome acrylic and TCR Sun Tunnel options in this family.
Select the exact product for the measured slope, roof covering, curb and drainage. A product being described as suitable for a flat roof does not make every flashing kit suitable.
Designed for reachable sloped ceilings in lofts, attics and bonus rooms. Choices include center pivot, top hinged, roof balcony and roof access windows.
These are distinct from overhead skylights. Any proposed emergency escape or roof access use needs the exact opening, installation and local requirements checked.
Custom metal framed designs with choices in shape, finish and glazing. Configurations include square, octagonal and extended pyramids, single and double pitch, structural ridge and low profile systems.
VELUX says its current Skylight Systems include a white solar powered room darkening shade. Other colors and styles are ordered separately. Confirm compatibility for older units and products outside this system range.
Room darkening is useful for bedrooms and screen glare. Discuss other shade styles when softer daylight is the priority. A solar powered shade does not mean the skylight itself opens with solar power.
VELUX Touch operates compatible skylights and shades. VELUX ACTIVE adds a gateway, sensors, an app and a departure switch, with monitoring for temperature, humidity and CO₂.
ACTIVE is an upgrade. Confirm product compatibility, the internet connection and what controls your package includes before ordering.
Accessories for Sun Tunnel skylights and roof windows
Sun Tunnel options include decorative diffusers, a daylight controller, an electric light kit for nighttime use, extension tubes, elbows and roof specific flashing. Confirm which fit your unit.
Roof window accessories include compatible manual shades and insect screens.
VELUX lists standard safety glass and selected impact, snow load, white laminated and tempered glass options. The appropriate choice depends on the product, room and location.
Compare the exact unit’s glass specification and performance label. Shade performance figures are not a prediction of whole home utility savings, and one product’s certification does not apply to every model.
The mount determines how the unit attaches. The flashing directs water around it and into the surrounding roof system.
Deck mounted
Fastens directly to the roof deck for a lower profile. Roof pitch, opening size and the specified flashing determine suitability.
Curb mounted
Fits over a raised framed curb. On a replacement, check the curb’s dimensions, height, condition and waterproofing before assuming it can remain.
Self flashed
Has integrated flashing. It is a separate configuration with its own roof and installation limits, rather than a universal replacement for a flashing kit.
These are product families, not ordering instructions. Match the model, size code, roof material and permitted pitch range in the exact installation manual. A skylight’s allowable slope may differ from its flashing kit’s allowable slope. Low slope membranes and unusual roof profiles need their own approved details.
This is a homeowner planning guide. The selected product’s current installation instructions control the field work.
Inspect the room, attic and roof.
Review daylight goals, ceiling height, framing, obstacles, roof pitch, roofing material and access. With a flat ceiling, a finished light shaft may be needed through the attic.
Define the entire scope.
Record the product, dimensions, glass, mount, shade, controls and flashing. Identify any framing, electrical work, interior finishing and required approvals.
Protect the home and install the roof system.
Plan weather protection and access. Prepare the opening or curb, install the specified underlayment and flashing, and restore the surrounding roof covering.
Finish the room and demonstrate operation.
Complete the agreed shaft, insulation, air sealing, drywall, trim and painting. Check operation and controls, clean up and review the finished work with you.
Planning reference: VELUX installation process. Cross + Crown’s written scope identifies the work included on your project.
How long will it take, and what affects the price?
VELUX describes a new installation as roughly half a day to three days depending on conditions, while a straightforward single replacement may take a few hours. Weather, repairs, shaft work and finish visits can extend the schedule.
Product choice, quantity, roof access, framing, wiring and interior finishing affect the price. Manufacturer estimates are planning ranges. Your Cross + Crown proposal establishes the scope and price for your home.
Water around a skylight can come from the unit, flashing, nearby roofing or condensation. Cross + Crown inspects accessible conditions and explains whether a repair is practical or replacement deserves consideration.
While replacing your roof
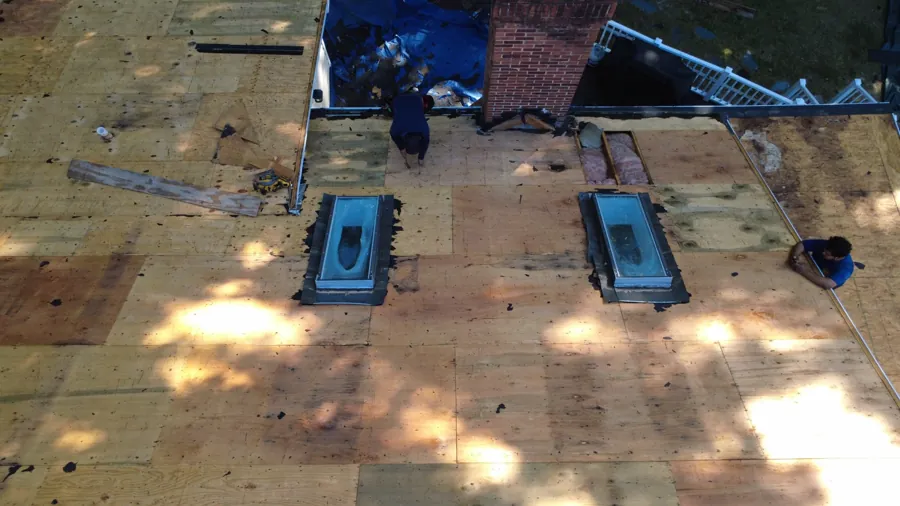
Review existing skylights at the same time. Age, glass condition, controls, flashing and the surrounding curb or deck all matter. Do not assume old flashing can simply be reused.
The current VELUX written warranty excludes certain leaks after reroofing without the specified new underlayment wrapping and approved flashing. Confirm the requirements for your existing unit.
Photograph the identification label and record the full model, size and production code. Measure the roof opening or curb as required by the selected unit’s instructions, not only the visible glass.
Check flashing and shade compatibility, the interior opening and any repair or trim changes. A similar appearance does not establish an exact replacement.
Existing Cross + Crown project photo. Removal can reveal conditions that affect the agreed scope.
06 · PROTECT YOUR INVESTMENT
Know what the written warranty covers.
Manufacturer coverage and contractor workmanship coverage are separate. Your proposal identifies Cross + Crown’s workmanship terms.
Selected VELUX coverage periods, subject to the written terms
Coverage
Period
What to verify
Insulating glass seal
20 years
Specified unit skylight models and qualifying internal seal failure.
Product defects
10 years
Applicable glass skylights, roof windows and flashings. Other products can differ.
Shades and controls
5 years
Covered components and defects.
No leak installation
10 years
Listed skylight and flashing combinations, qualifying residential roof conditions and installation strictly to the instructions.
Read the VELUX limited warranty effective May 1, 2026 (PDF), which applies to qualifying U.S. purchases from that date. Earlier purchases require their applicable terms. This table is a selection, not every product’s coverage.
Condensation is excluded. Hail coverage is limited to specified products and conditions. Labor, removal, reinstallation and other expenses have exclusions or limits. Sun Tunnel, dome, flat roof and commercial products have separate provisions. Keep the invoice, model details and installation records.
Everyday care
Use a soft cloth and water or an appropriate mild cleaner on glass. Wet the surface first and avoid abrasive tools. Keep accessible drainage areas clear and arrange professional roof access where needed.
Manage indoor humidity and ventilation if condensation appears. Follow the unit’s instructions for finishes and moving parts.
Photograph the condition safely, note when it occurs and contact your installer. Have the product label, purchase information and installation date ready. Avoid unauthorized modifications while a warranty concern is being reviewed.
Prepared by Cross + Crown from VELUX’s official U.S. product and installation resources. VELUX is the manufacturer’s trademark. Product availability and exact compatibility are confirmed when your project is quoted.
INSPECT. DOCUMENT. EXPLAIN.
Let’s find the right fit for your home.
We will review your roof, your room and your options.